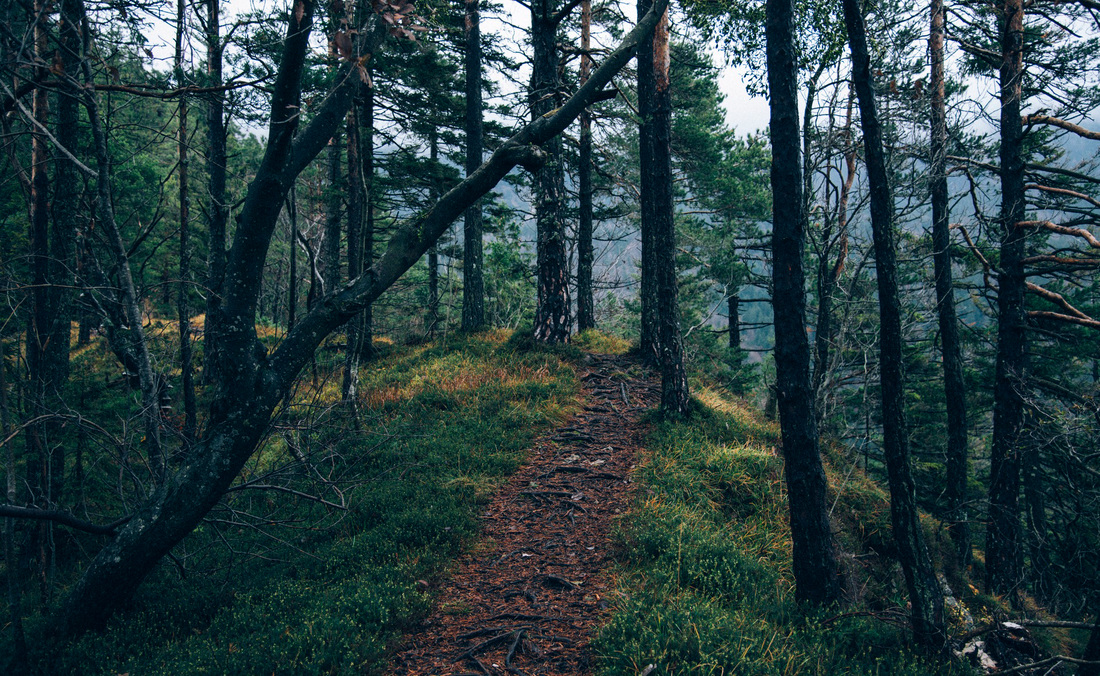
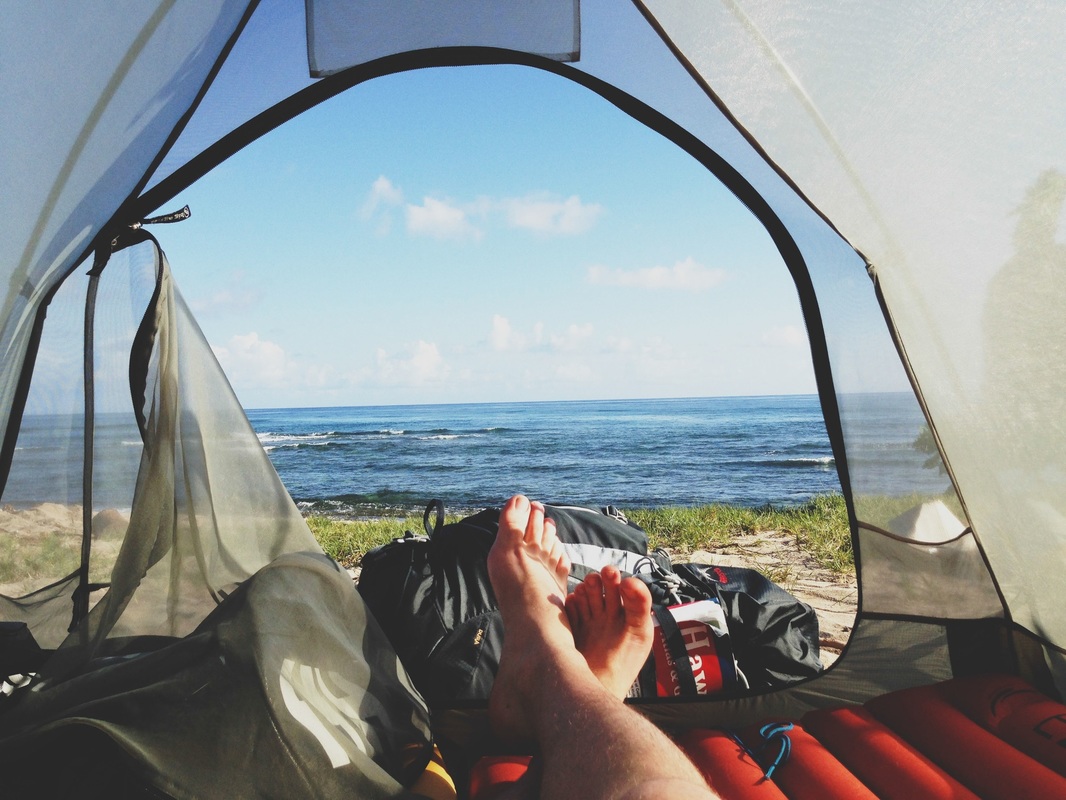
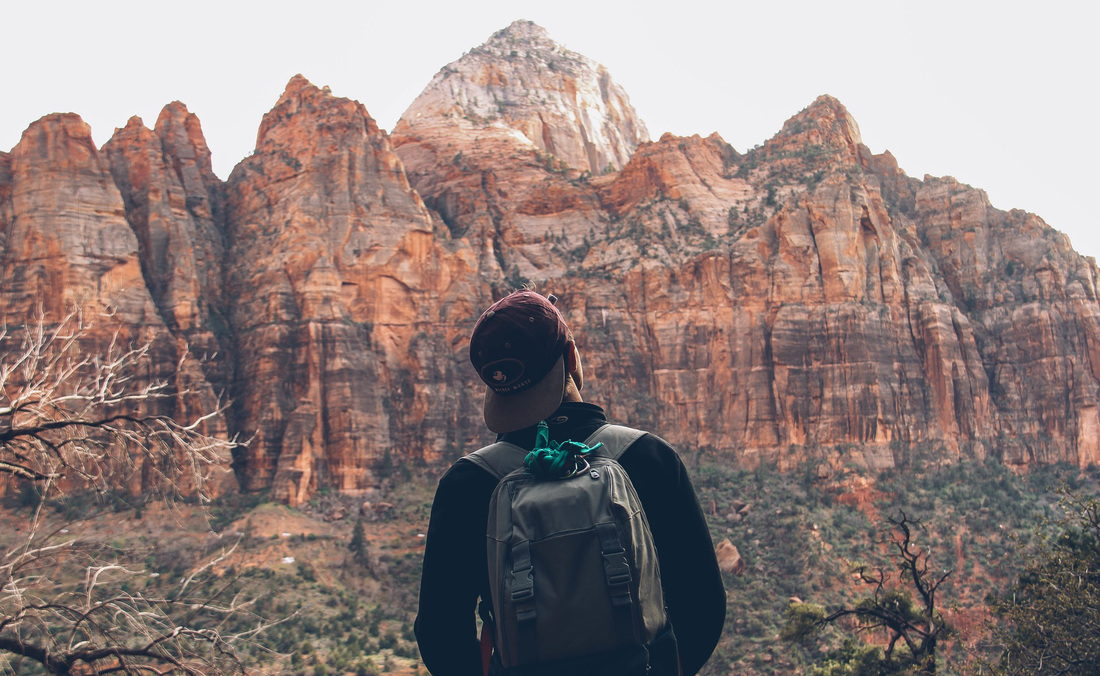
I'm James. This is my year of travel.

The Presets panel lists the available presets, showing a thumbnail preview of the effect of that preset. 
Single column, large thumbs Preset Thumbnails Panel There are various standard image export size options. If you would like to save your image at a specific pixel size/resolution, use the Save with Size option. If the desired photo application is not on the list, click Add application., navigate to the folder that contains the application, and select it. If you would like to automatically reimport the saved image into another photo or image application, check Open Saved Images with and select an application from the drop-down list. TIFF 16-bit offers the highest quality output and is the best format if you plan on processing the image further in an image editor. 
JPEG is best if you want to go straight to the Web with no further processing. Then, select a file type among the three offered. To save your image, choose File > Save As, navigate to the folder where you want to save the image, and use the default file name or enter a new name in the File name field. In the case of the plugin for Lightroom, note that you will have to make sure the Automatically reimport into Lightroom library option is checked to get the saved HDR image automatically reimported into Lightroom. Additionally, the button that returns the adjusted image to Lightroom or Capture One will be named Save & Reimport instead of Done. If you are using the Export to Photomatix Pro plugin for Lightroom Classic or the Merge to HDR in Photomatix Pro plugin for Capture One, the image adjustment workflow described above stops at step 4. Workflow Differences when using the Lightroom or the Capture One Plugin If you loaded a single Raw file, however, you can still use Fusion presets if you select “ Enable Exposure Fusion". the “ Natural” preset) are only available when you have loaded bracketed photos.
0 Comments
Leave a Reply. |
AuthorWrite something about yourself. No need to be fancy, just an overview. ArchivesCategories |
 RSS Feed
